How To Use A Tap And Die Set

There are all sorts of situations where you may need to create or repair a thread.
From screws that break off in their holes, to damaged bolts that need to be drilled out again.
Whether you're a mechanic, metal or woodworker or just up for a little bit of DIY around the house or garage, the tool you will need to reach for in these situations is the good old tap and die set.
But how do you use a tap and die set the right way? Let's take a look…
Contents
- How to use a Tap & Die Set in 5 SIMPLE Steps
- Step 1: Choosing the right tools for the job
- Step 2: Drilling a thread hole
- Step 3: Tapping The New Thread
- Step 4: Using the Die to Cut Threads
- Step 5: Still Not Sure? Watch this too
How to use a Tap & Die Set in 5 SIMPLE Steps
Step 1: Choosing the right tools for the job

We have gone more in depth on what you need to know when buying a tap and die set here.
However, a good rule of thumb to follow is the stronger the steel used in the construction of your tap and die set, the wider range of materials you will be able to work with.
Quite simply, carbon and tool steel is softer than high speed steel. This means that the former are better suited to lighter duty work. If the material you are threading is too hard, these softer steel taps could potentially break.
It is important to ensure that the tools you are using are up to the job in hand.
Step 2: Drilling a thread hole
Before you jump straight into the drilling, you need to choose the correct drill size for the tap you intend to use. Most kits will come with guides to help you with this, if not the image below will help you.

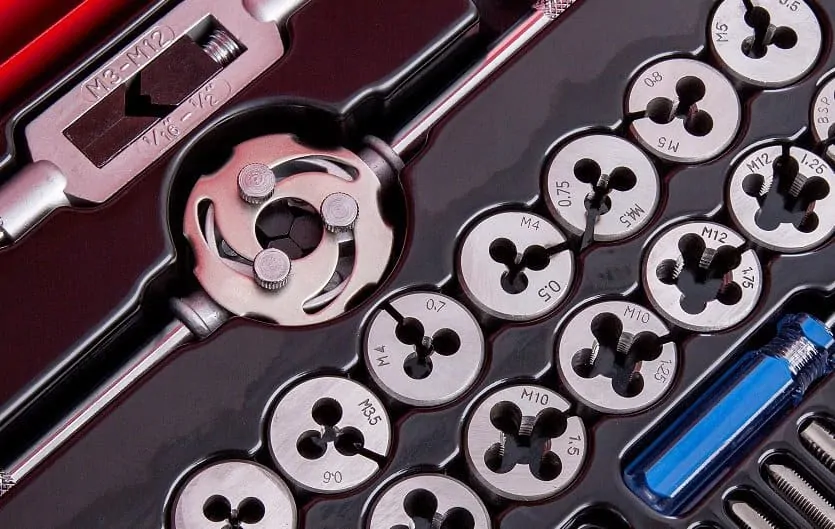
Also, it is important to have all your drill bits and taps stored correctly. The components of your tap and die set will be clearly labelled (either on the side of the tool itself or within the casing), keeping your tools organised is an important first step to selecting the right one when you need it.
With the right bits selected, it is time to fasten down the material you intent to cut. A good work space vise or clamp should be used for this.
When you start drilling the hole for your tap, it is recommended that you begin on a slow speed. Using cutting oil on harder materials such as steel and cast iron.
And take your time to get it right.
Step 3: Tapping The New Thread

With the hole cleared for your tap, you now insert your tool and utilise the ratchet turning handle to slowly begin creating the thread.
For every 2 turns clockwise on the tap, you should turn the handle half a turn backwards. This will ensure that the slithers of broken material do not damage the inside of the thread as you work.
You can keep applying the cutting oil as you proceed.
Again, a slow steady approach is what you should aim for. Keep the material flat as you work, with the tap centred and level.
Once the thread has been cut, you simply turn the ratchet handle counter clockwise to relieve it from the hole.
Good work. If all has gone to plan you will have a brand new (and pristine) thread ready to go.
Step 4: Using the Die to Cut Threads

The other part of the tap and die set you need to get to grips with is obviously the die.
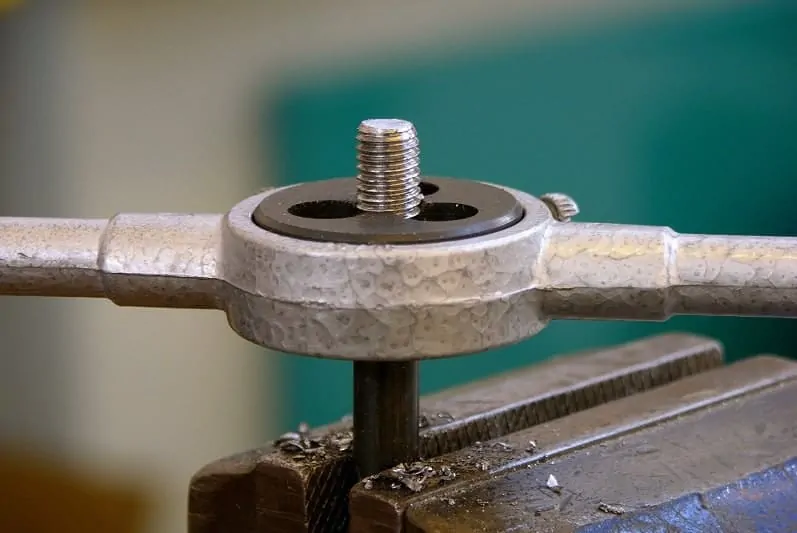
This is what you use to create a thread on metal or wooden rods, as well as prepare the thread on screws and bolts.
Again, one of the most important steps before you begin is to ensure you have the correct sized die for the job, and that the material you wish to thread is well fastened.
With the die inserted into the die wrench, (make sure you have the lettered size facing out), you then have to file the end of your rod so that it is square and clean.
To begin creating the new thread you then carry out the following steps:
- Apply your cutting oil onto the material being threaded
- Push your die onto the material and begin turning clockwise
- Much like the tap, for every 2 turns you make, back the die off half a turn to remove the debris material
- Keep lubricating the die with cutting oil as you work.
- Keep turning the die until you have threaded the desired length of the rod.
Remove the die and wrench from the rod and there you have it. Your rod material will contain a fresh thread for you to use as you see fit.
Step 5: Still Not Sure? Watch this too
However, if you have finished reading our instructions and still need a little more guidance, we fully admit that nothing beats a good video.
YouTube has a number of excellent tutorials on how to use a tap and die set. The one above, is one of the most comprehensive we have found.
Featured Image: Photo by Jordanhill School D&T Dept / CC BY
Image Credits: Sealey.co.uk, The Golden Wench, GearWrench.com
How To Use A Tap And Die Set
Source: https://www.sharpen-up.com/use-tap-die-set-right-way/
Posted by: fierrobitherry.blogspot.com

0 Response to "How To Use A Tap And Die Set"
Post a Comment